Instructions to buy Windows 10 VPS with Bitcoin payment
How to buy Windows 10 VPS with Bitcoin? This article will show you how to buy Windows 10 VPS with Bitcoin using a Coinbase wallet. Bitcoin is now a popular payment method, especially in the field of Windows VPS, you can completely buy a Windows VPS by paying with your Bitcoin.
What is Windows 10 VPS?
Windows 10 VPS is a Virtual Private Server with Windows 10 operating system installed, the commonly installed versions are Windows 10 PRO and Windows 10 Enterprise. Windows 10 is a major release of the Windows NT operating system developed by Microsoft.
System requirements to install Windows 10: Windows 10 operating system needs to use more VPS resources than Windows Server operating systems, for a VPS to install Windows 10 it needs at least 4GB of RAM, 2 vCPUs and SSD capacity of 50GB or more.
Which cryptocurrencies are accepted for payment?
Currently, the cryptocurrency market has thousands of coins in circulation, the most popular coins are those with the ability to pay fast, safe and the lowest money transfer fees. The downside of cryptocurrency payments is that it has a very high price difference, the price movement is fast so it often does not reflect the current value.
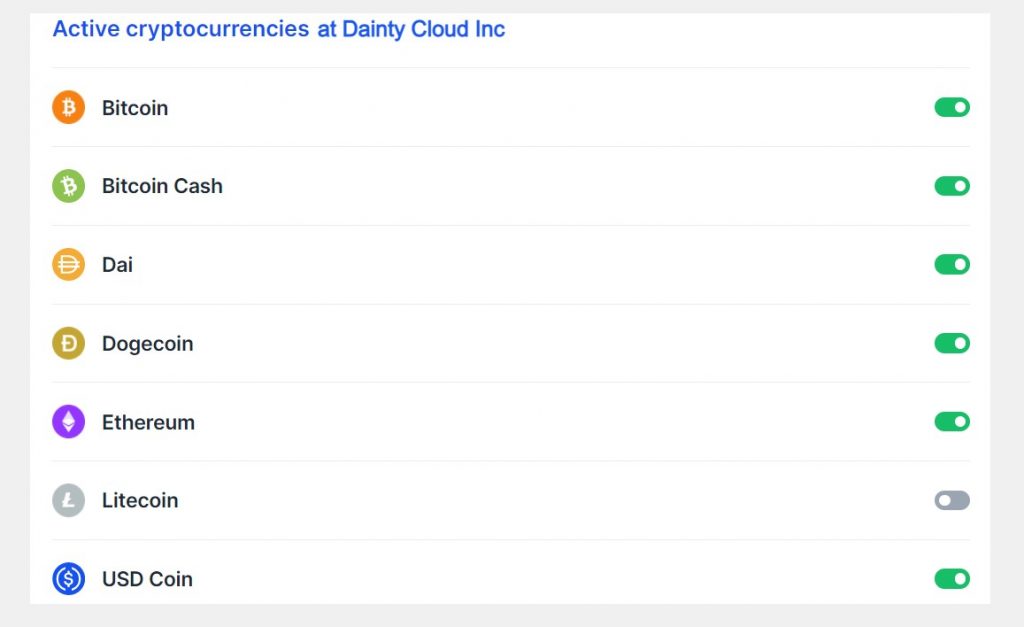
At Dainty Cloud, you can use many popular cryptocurrencies to pay for Windows VPS. The cryptocurrencies we are accepting are: Bitcoin, Ethereum, Bitcoin Cash, Dogecoin and Dai. Payments are made through Coinbase’s e-commerce payment gateway, Coinbase Commerce. This is the best cryptocurrency payment company today, the transaction fee is low and very safe for users.
How to buy Windows 10 VPS with Bitcoin?
To buy Windows 10 VPS with Bitcoin or any other cryptocurrency, you first need to have a wallet containing the cryptocurrency, then determine exactly the configuration of the Windows VPS package that you want to buy. Then take each step as follows:
Step 1. Visit the Dainty Cloud Inc homepage.
You can go directly to the Dainty Cloud Inc homepage by tapping on the icon at the top of this page or searching google with the keyword “Dainty Cloud Inc”. Once you’ve visited the home page, in the Header Menu section, you click on “Cloud VPS” and select the area where you want to buy VPS. Here I choose Cloud VPS USA as my guide.

Step 2. Select a Windows 10 VPS configuration
Here there will be a lot of VPS plans for you to choose from, however to buy Windows 10 VPS you should choose a plan with 4GB RAM, 2vCPU or more:
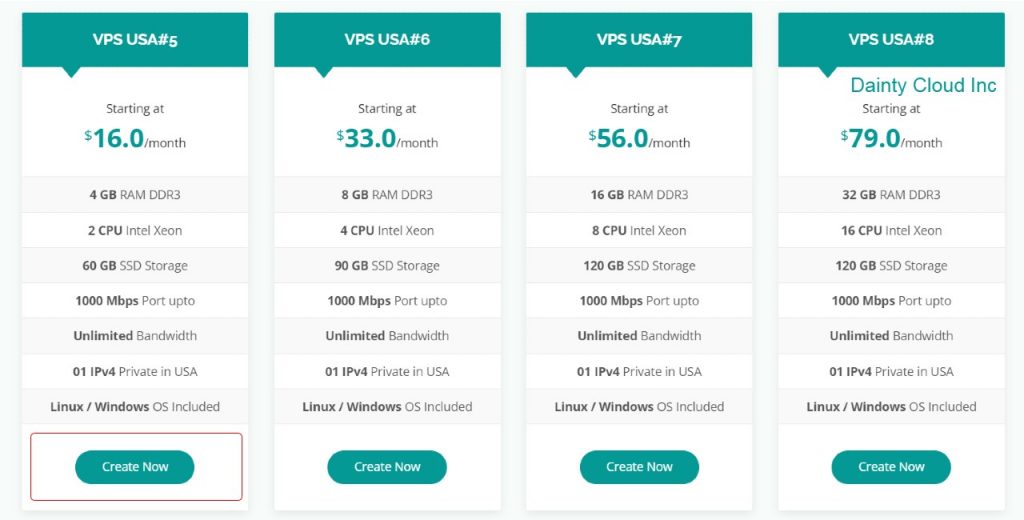
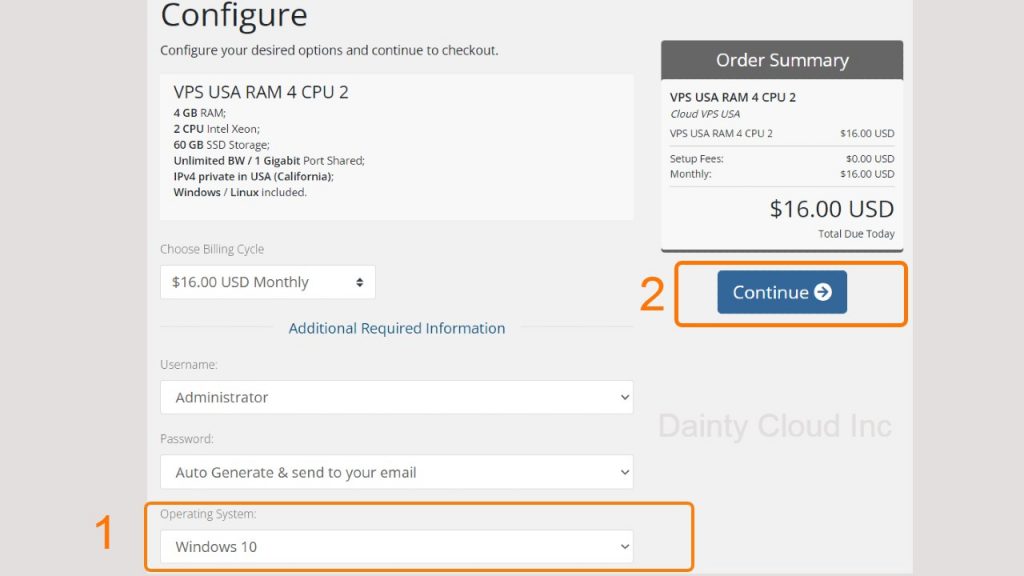
After selecting the 4GB RAM plan, 2vCPU is completed, in the next item you need to select the operating system is “Windows 10” for this VPS package and press continue to proceed with the order:
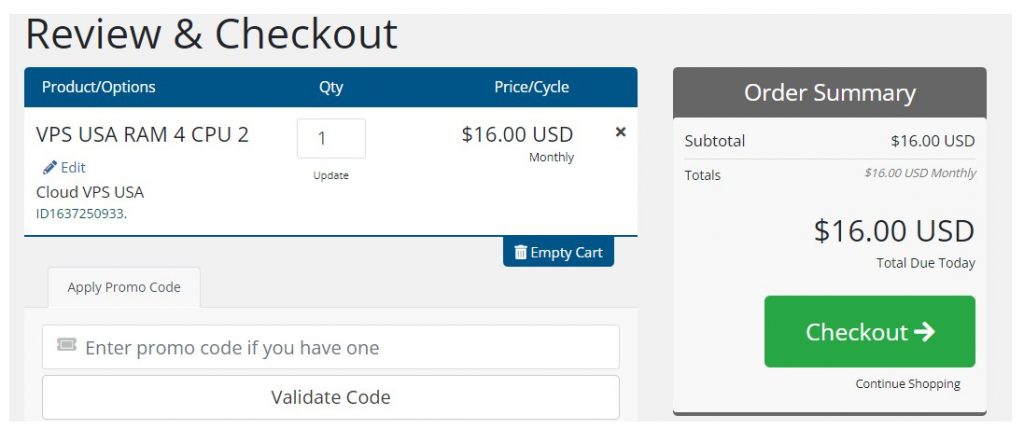
Now review the VPS configuration you’ve selected again, then tap “Checkout” if you’re sure you want to buy this VPS plan.
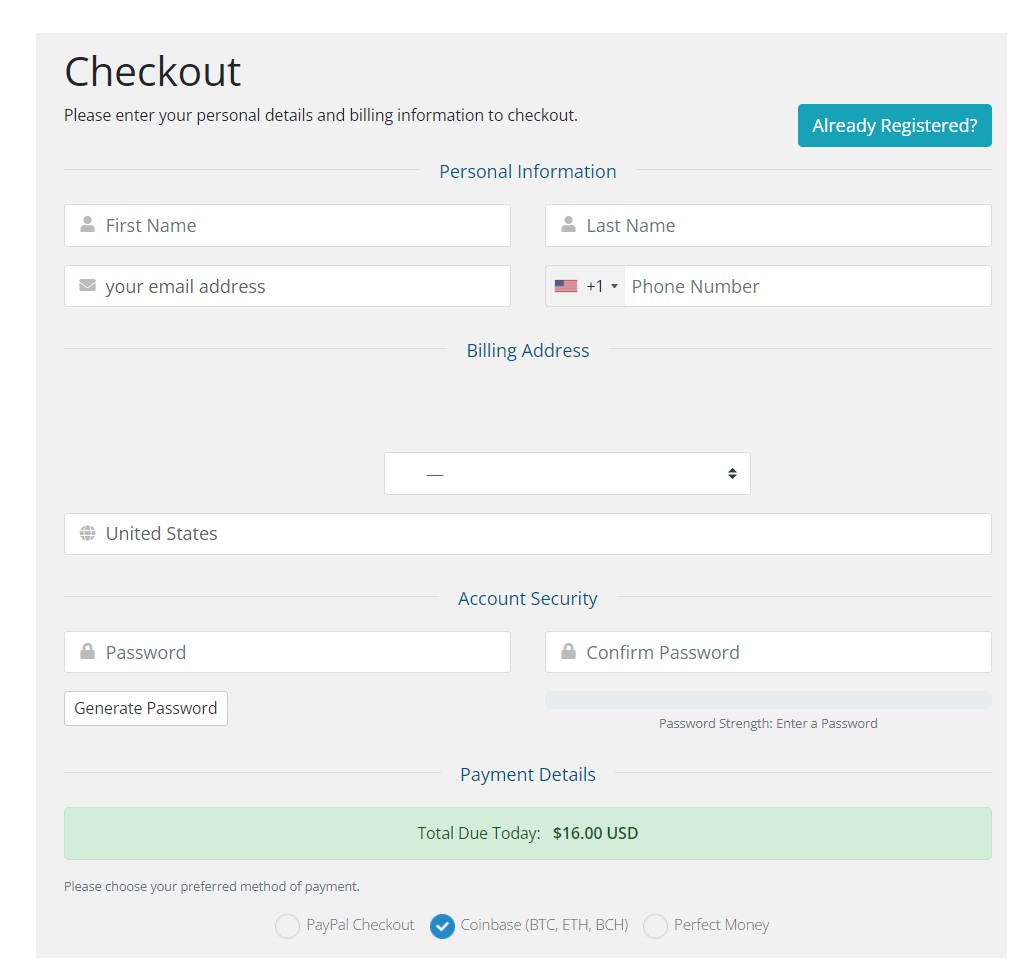
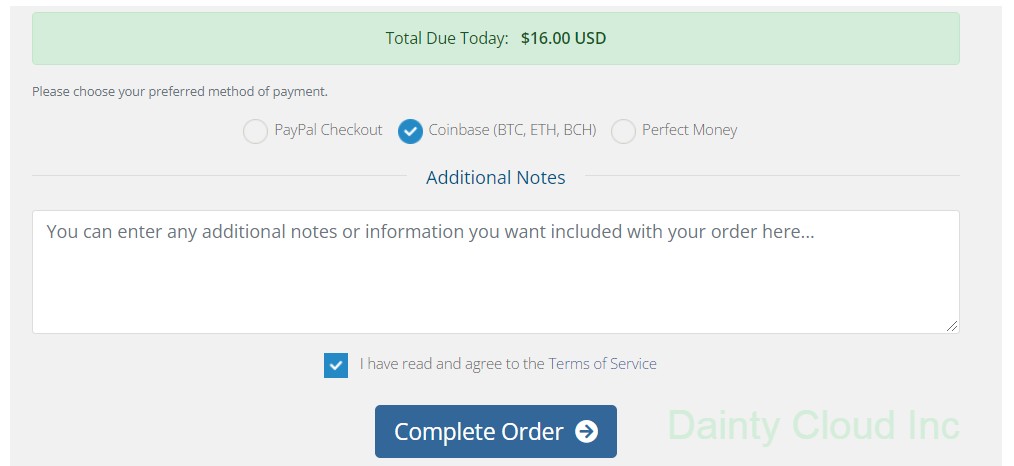
Next, you need to fill out your personal information in the registration form if you don’t have an account yet. If you already have an account at Dainty Cloud, tap “Already Registered” to sign in. To pay in Bitcoin, simply select “Coinbase” as the payment method and press “Complete Order”.
Step 3. Payment in Bitcoin
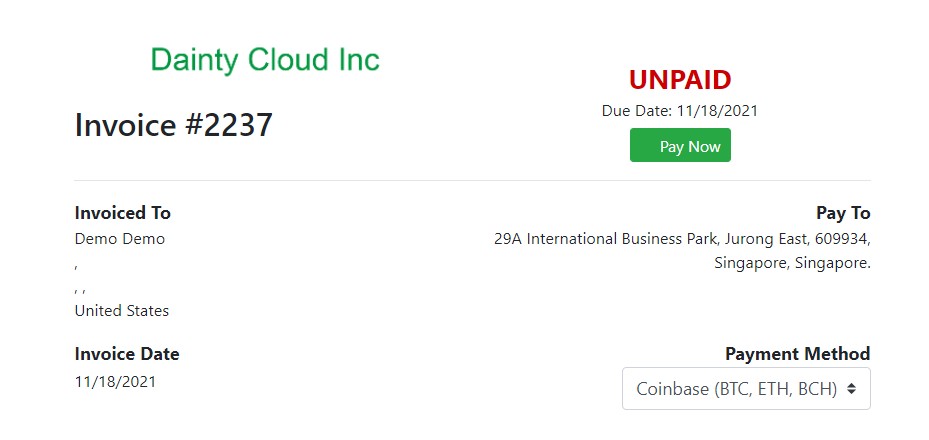
After you agree to the terms of use and press “Complete Order”, you will be redirected to the Invoice page. Check the payment method again and press “Pay now”.
Choose the cryptocurrencies currency that you want to use for payment, if you have Bitcoin choose to go to Bitcoin, similarly, if you want to pay in Ethereum, Bitcoin Cash or any other currency just select them and press “Pay with Coinbase”.
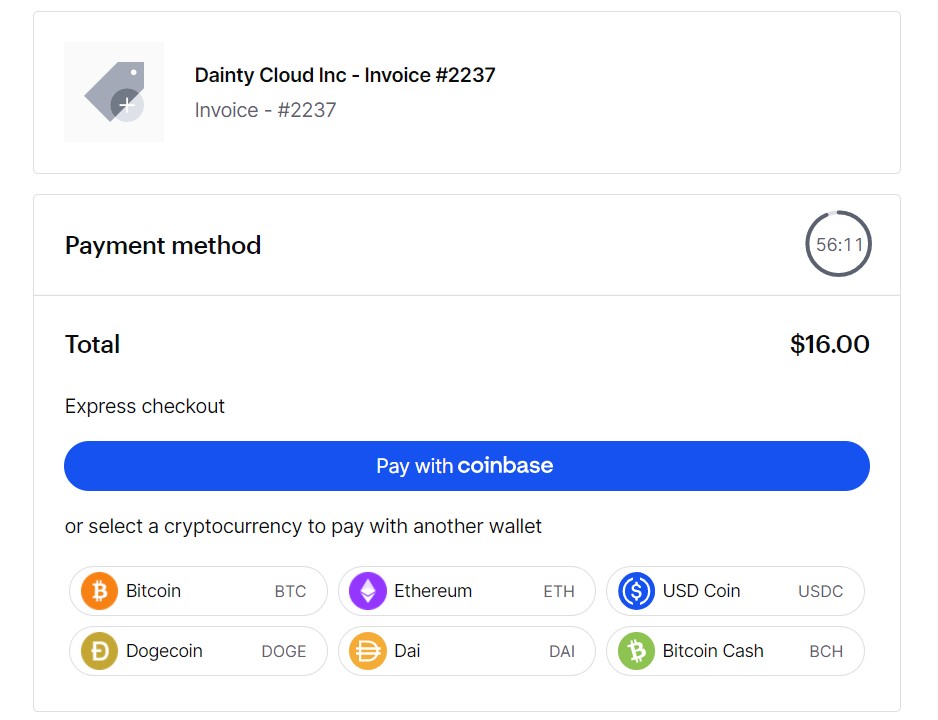
In this tutorial, to pay in Bitcoin, you select “Bitcoin”, the browser will automatically redirect to Dainty Cloud’s Bitcoin wallet. Now, you just need to send the correct number of Bitcoins displayed on the screen to the Bitcoin address that the payment will be automatically completed. You can also scan QR codes to make faster payments on your phone.
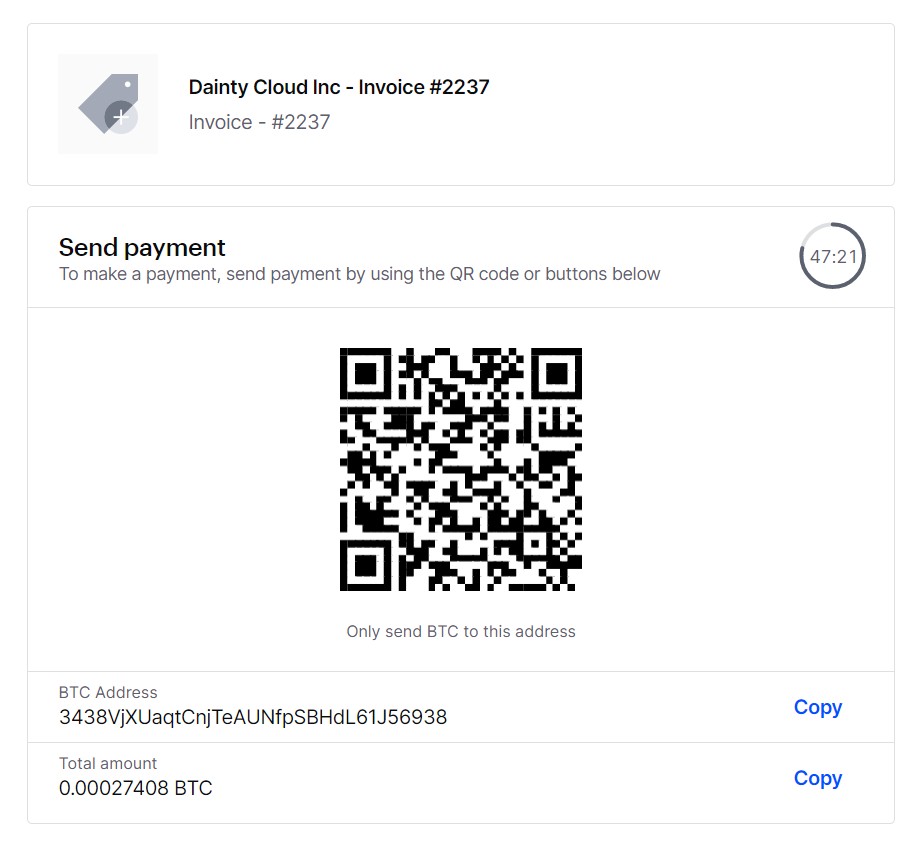
Each transaction created lasts only 60 minutes, so choose a suitable transfer fee for faster transaction processing speed.
So with the three steps above you can already buy Windows 10 VPS with Bitcoin or other popular cryptocurrencies. Once the transaction is completed, go back to your client page on Dainty Cloud. Windows VPS will be initiated in about 15 to 30 minutes, and Windows VPS credentials will be sent to the email address you signed up for above.
Wishing you success!


