


How to Install Fail2Ban to Secure Linux Servers
Fail2Ban is a free and open-source software that protects Linux servers from brute-force attacks. It works by monitoring system logs for failed login attempts and automatically banning IP addresses that exceed a certain number of failed attempts. This helps to prevent attackers from gaining access to your server by guessing your passwords.
In this article, we will show you how to install and configure Fail2Ban on a Linux server. We will also cover some of the advanced features that Fail2Ban offers.
Prerequisites
Before you can install Fail2Ban, you will need to have a Linux server with the following:
- A working SSH connection.
- A recent version of the operating system.
- The EPEL repository (optional).
Installing Fail2Ban
To install Fail2Ban, you can use the following command:
sudo apt install fail2banIf you are using a CentOS or Fedora server, you will need to install the EPEL repository first. You can do this with the following command:
sudo yum install epel-releaseOnce the EPEL repository is installed, you can install Fail2Ban with the following command:
sudo dnf install fail2banConfiguring Fail2Ban

The default configuration of Fail2Ban is sufficient for most servers. However, you may want to make some changes to the configuration file to suit your specific needs.
The main configuration file for Fail2Ban is located at /etc/fail2ban/fail2ban.conf. This file contains a number of settings that control how Fail2Ban operates.
Some of the most important settings in fail2ban.conf include:
bantime: This setting specifies the amount of time that an IP address will be banned for after it exceeds the number of failed login attempts.maxretry: This setting specifies the number of failed login attempts that an IP address can make before it is banned.ignoreip: This setting specifies a list of IP addresses that should be ignored by Fail2Ban.
You can find more information about the settings in fail2ban.conf in the Fail2Ban documentation.
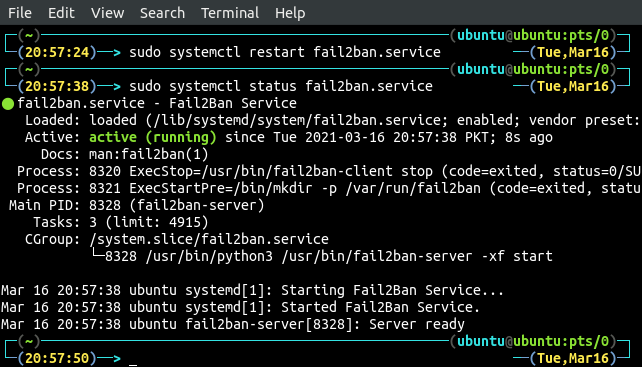
Activating Fail2Ban

Once you have configured Fail2Ban, you need to activate it. You can do this with the following command:
sudo systemctl enable fail2ban This will start Fail2Ban and make it start automatically when your server boots up.
Testing Fail2Ban
Once Fail2Ban is activated, you can test it by trying to log in to your server with an incorrect password. If Fail2Ban is working correctly, the IP address of your computer will be banned for a period of time.
You can check the status of the ban by running the following command:
sudo fail2ban-statusThis will show you a list of all the banned IP addresses.
Advanced Features

Fail2Ban also offers a number of advanced features that you can use to further secure your server. Some of these features include:
- Custom jails: You can create custom jails to protect specific services on your server. For example, you could create a jail to protect your SSH server or your web server.
- Mail notification: Fail2Ban can send you an email notification when an IP address is banned. This can be helpful for keeping track of attacks on your server.
- Remote logging: Fail2Ban can log to a remote server. This can be useful if you want to centralize the logging for all of your servers.
Conclusion
Fail2Ban is a powerful tool that can help you to secure your Linux server from brute-force attacks. By following the steps in this article, you can install and configure Fail2Ban on your server in just a few minutes.


Related News


Select How to Install AAPanel How to Install AAPanel

How to Create an IPV6 Proxy using VPS

How to Create a Proxy on VPS CentOS 7 using Squid Proxy