


Four steps to extend partition of Linux VPS (Centos 7)
There are four steps to extend the partition of Linux VPS with Centos 7: 1. Extend partition. 2. Update kernel in-memory partition table; 3. Resize physical volume; 4. Resize LV and filesystem. The special thing, You can do this without rebooting in CentOS 7. Assuming your disk is /dev/sda and standard RHEL/CentOS partitioning:
Extend partition
Open VPS console and check if the drive on your Linux VPS is denoted by “sda” or “vda” with the following command:
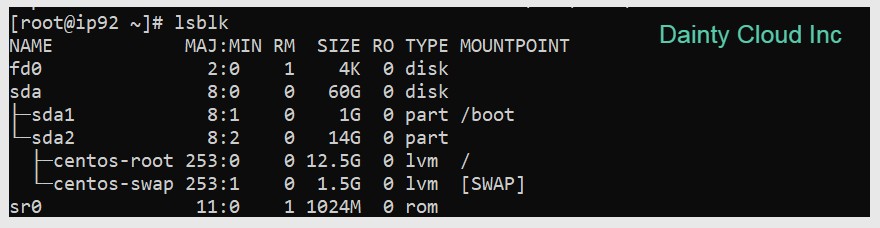
# lsblkMy result:
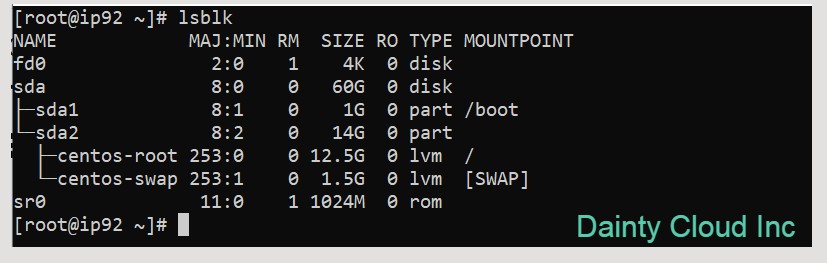
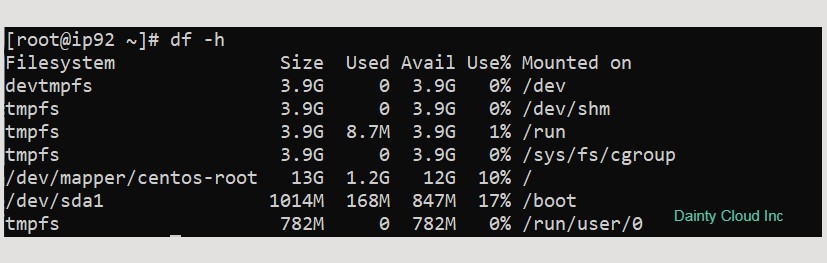
Storage before expansion:
Above are the test results on my VPS doing, mine is “sda” so the following statements I will use with “sda”. Conversely, if you check that your result is “vda” then replace the word “sda” with “vda” in the statements below.
So that’s done with the initial test, now let’s perform the expansion of the storage drive on Linux VPS with Centos 7 with the following command:
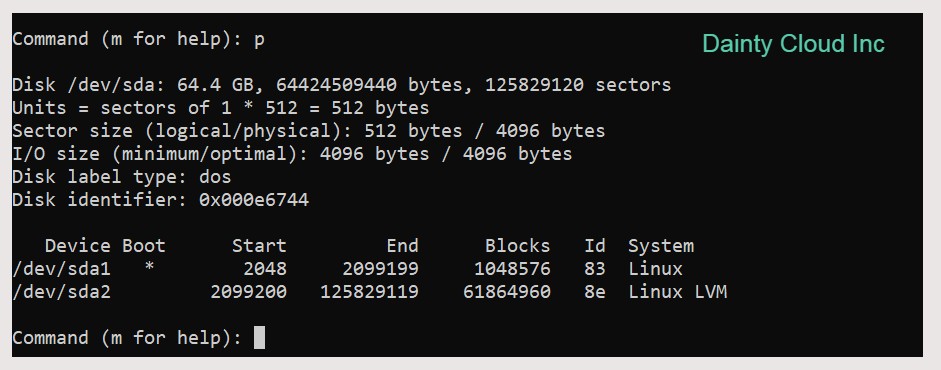
# fdisk /dev/sdaEnter p to print your initial partition table.
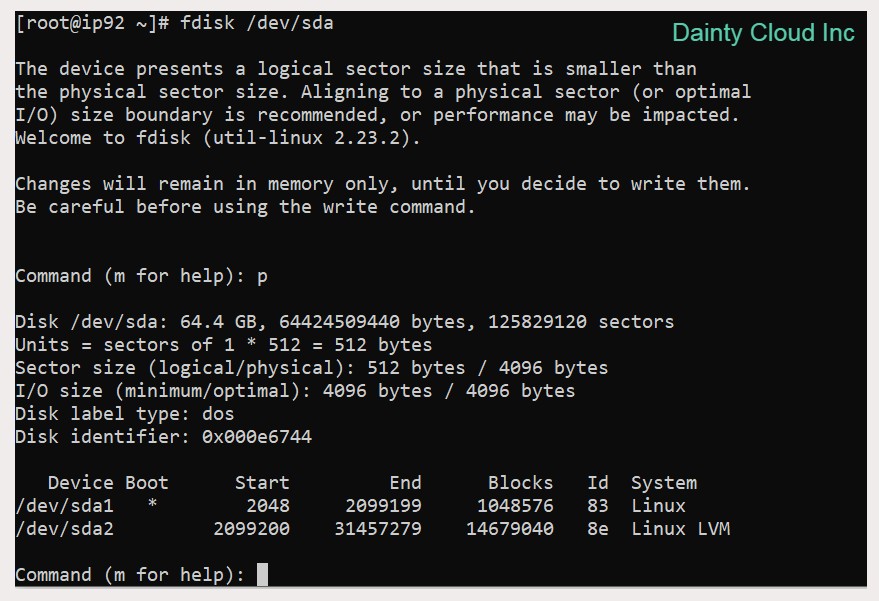
Enter d (delete) followed by 2 to delete the existing partition definition (partition 1 is usually /boot and partition 2 is usually the root partition).

Enter n (new) followed by p (primary) followed by 2 to re-create partition number 2 and enter to accept the start block and enter again to accept the end block which is defaulted to the end of the disk.
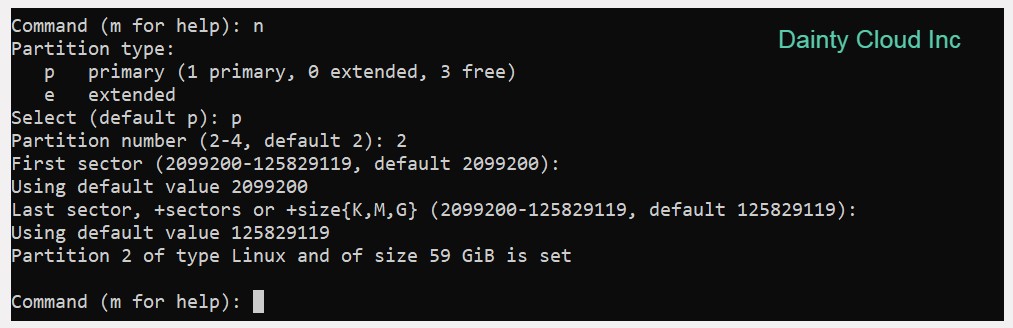
Enter t (type) then 2 then 8e to change the new partition type to “Linux LVM”.

Enter p to print your new partition table and make sure the start block matches what was in the initial partition table printed above.
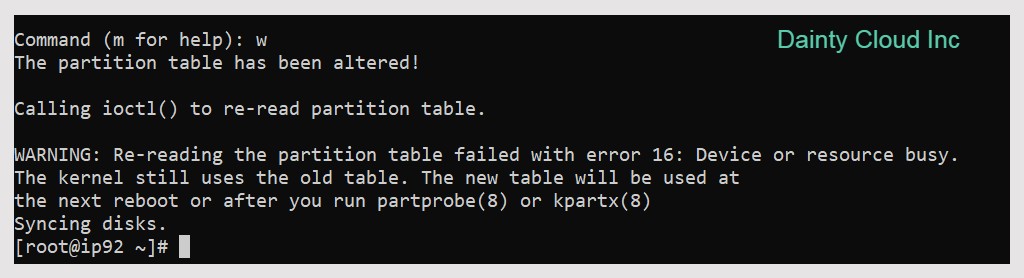
Enter w to write the partition table to disk. You will see an error about “Device or resource busy” which you can ignore.
Update kernel in-memory partition table
After changing your partition table, run the following command to update the kernel in-memory partition table:
# partx -u /dev/sdaResize physical volume
Resize the PV to recognize the extra space
# pvresize /dev/sda2Resize LV and filesystem
In this command centos is the PV, root is the LV and /dev/vda2 is the partition that was extended. Use pvs and lvs commands to see your physical and logical volume names if you don’t know them. The -r option in this command resizes the filesystem appropriately so you don’t have to call resize2fs or xfs_growfs separately.
# lvextend -r centos/root /dev/sda2
Double check the results are just done with lsblk :
With the above steps, you will be able to extend the capacity of the Linux VPS according to the hardware parameters assigned to VPS.


Related News


Select How to Install AAPanel How to Install AAPanel

How to Create an IPV6 Proxy using VPS